
Setting up an AI receptionist: a practical checklist
The steps that decide how well an AI receptionist handles your calls, in the order to do them, plus what to review in the first week.
Before you start: list why people call
Spend ten minutes with whoever answers your phone today and write down the ten most common reasons people call. For each one, decide how the call should end: answered, booked, transferred or a callback for later.
That list is the brief for everything that follows. It tells you which facts to add, which calls must reach a person and which calendar needs to be connected.
1. Name it and write its instructions
Give the receptionist a name and a greeting that sounds like your business. Then write its instructions the way you would brief a new front-desk hire: what to ask for (name, reason, preferred time), how to handle each common call, and what it should never do, such as promising a price it doesn’t know.
2. Teach it your business
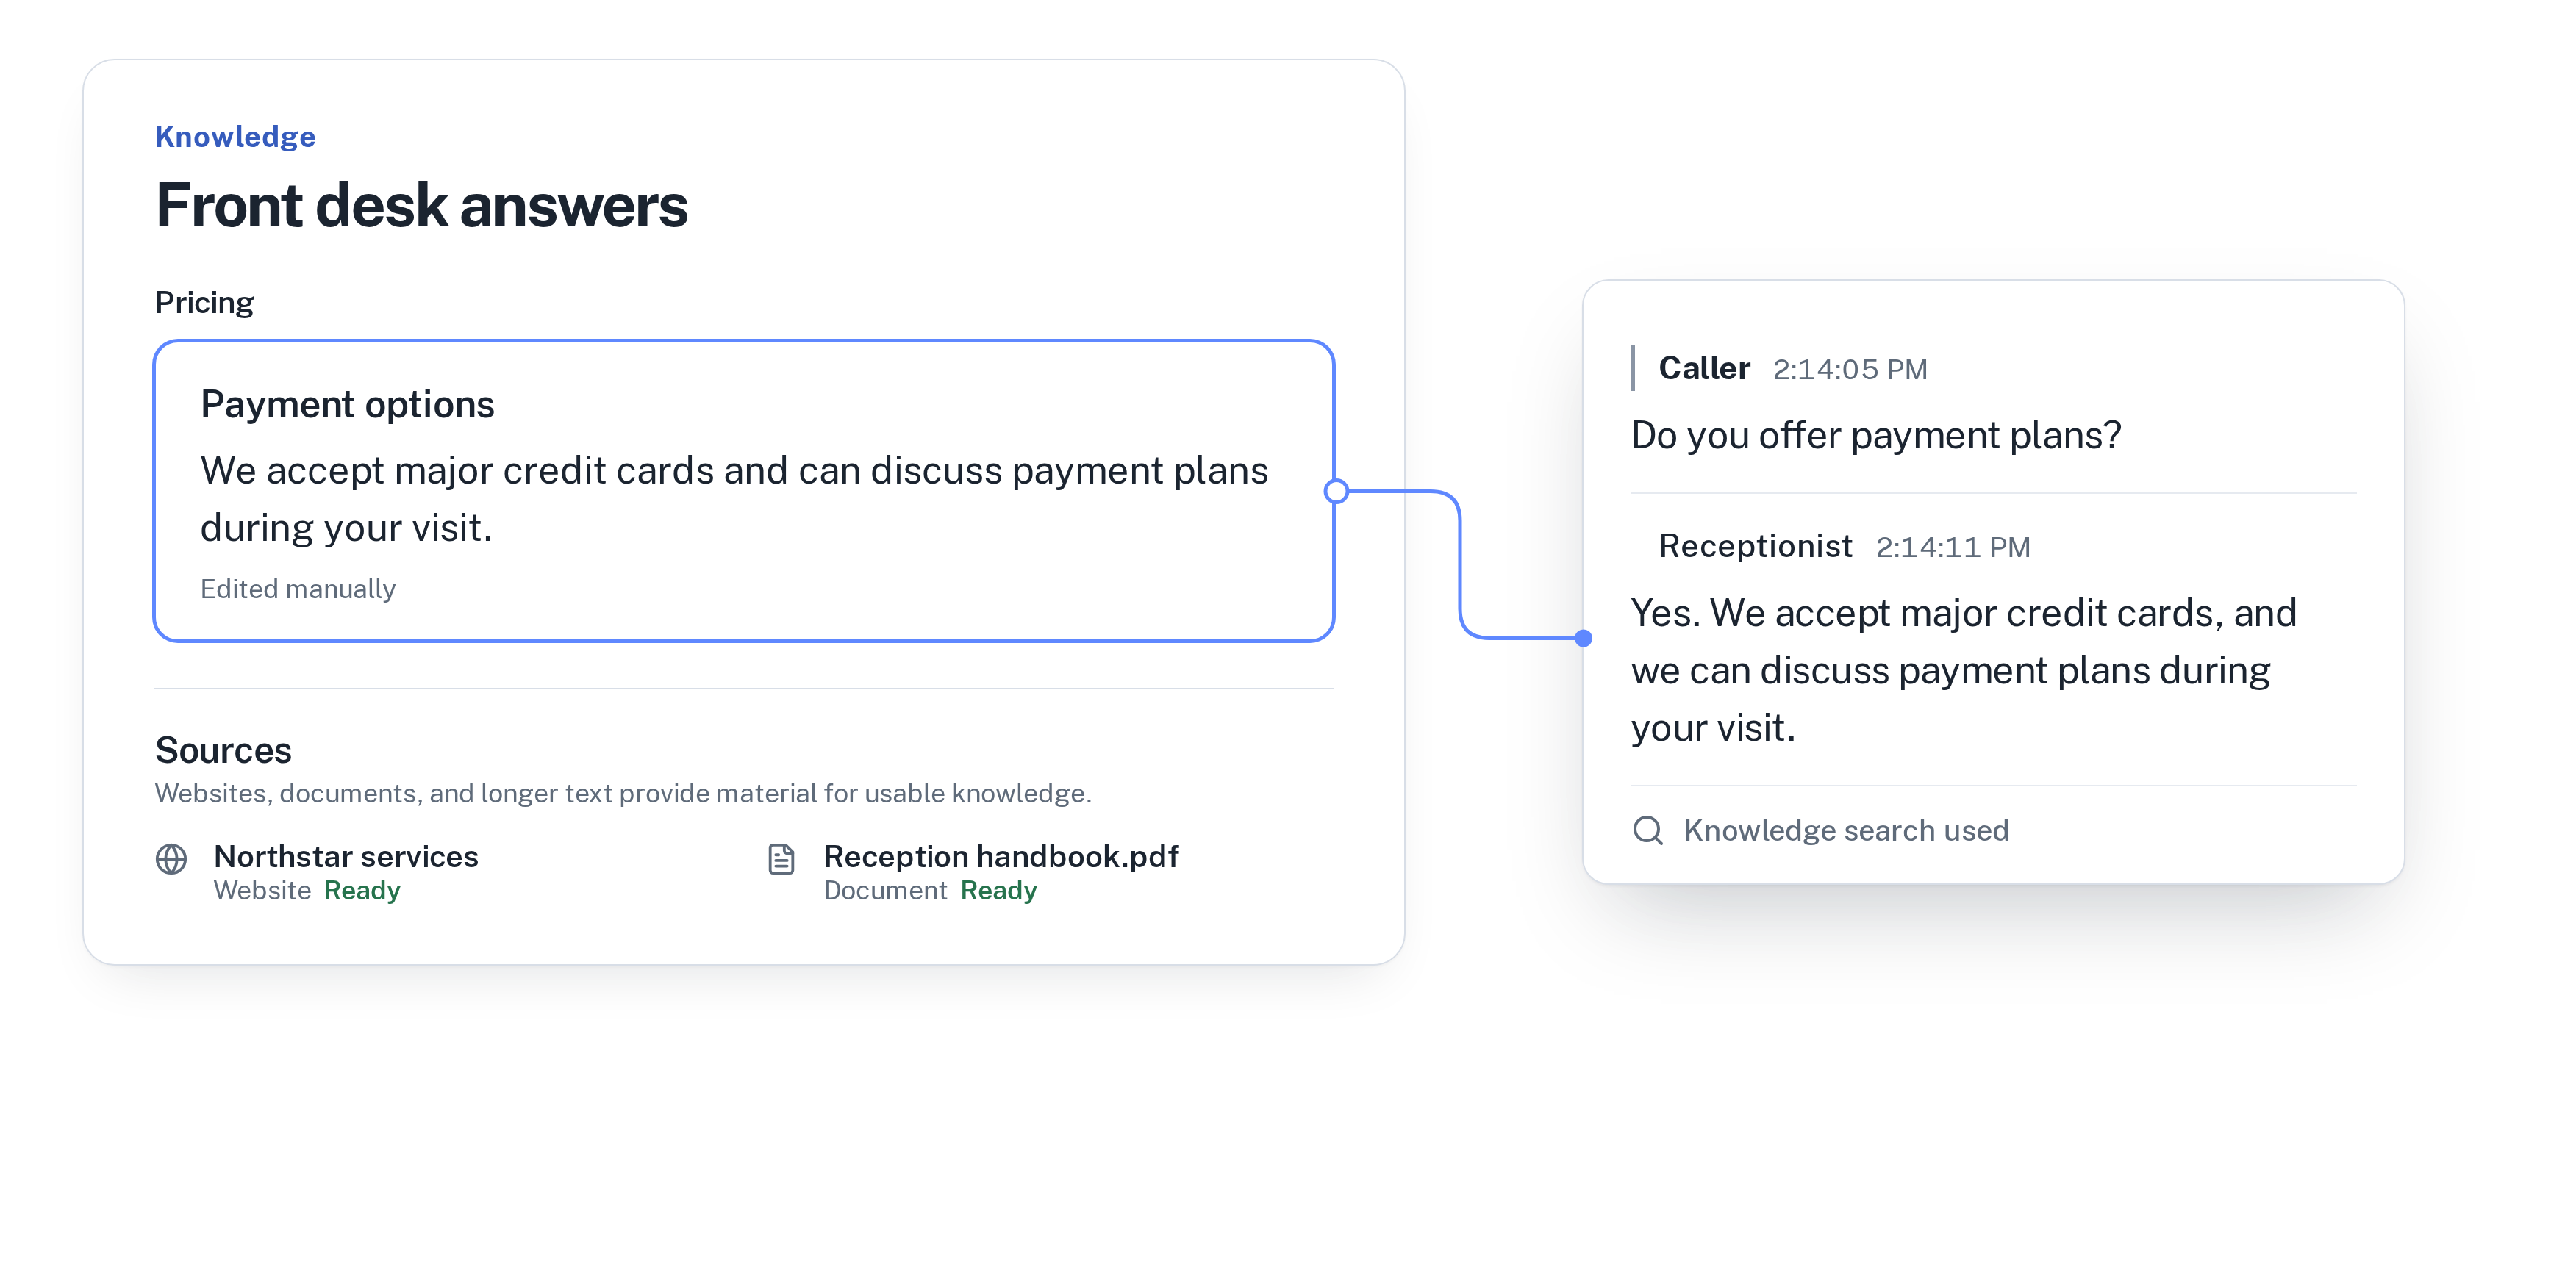
Add the facts callers ask about most, in the words you want used: opening hours, prices, payment options, cancellation policy, service area. Then add website pages and documents such as a price list or a handbook.
The receptionist answers from what you approve. If a question isn’t covered, it should say it will pass it on rather than guess, so it is worth covering your top ten reasons properly before going live.
3. Choose a language and a voice
Each WiseUnit receptionist answers in one language: English, German, Italian, French, Spanish, Polish or Turkish. Pick the voice that suits your business. If you serve callers in several languages, create a receptionist for each; every plan includes unlimited receptionists.
4. Connect a number, set hours and transfer rules
Connect the phone number the receptionist should answer and set your business hours. Add a transfer number, describe in the instructions when callers should be put through, and decide whether transfers are allowed after hours. Anything that doesn’t qualify becomes a callback request with a reason and priority.
5. Connect your calendar
If callers book appointments, connect the calendar you already use:
- Google Calendar: choose which calendar the receptionist books into.
- Calendly: books an event type; needs a paid Calendly plan and the caller’s email.
- Cal.com: books an event type; needs the caller’s email.
6. Test it like a caller
Call it yourself, and ask a colleague to call as a difficult customer. Try your top ten reasons, a question it shouldn’t be able to answer, a request to speak to a person, and a booking. Then open the call history and check that each call ended with the outcome you expected.
7. Publish
In WiseUnit, changes stay in draft until you publish them, so callers never hear a half-finished setup. Publish when your test calls go the way you want, and publish again whenever you change instructions or knowledge.
8. Review the first week
For the first week, spend a few minutes each day on the call history and the callback list.
Planning for evenings and weekends too? Read how to handle after-hours calls.
- Read a handful of transcripts. Are callers getting the answers you’d give?
- Look for questions it couldn’t answer and add the missing facts.
- Check that transfers happened when they should and not when they shouldn’t, and adjust the instructions.
- Make sure someone owns the callback list every morning.
Frequently asked questions
How long does setup take?
The setup steps themselves take minutes; the product tour shows the whole flow in under two minutes. Most of the time goes into writing good instructions and answers, which is worth doing properly.
Do I need a new phone number?
WiseUnit answers on a phone number connected in the product. How that fits your current line depends on how your calls are routed today, and we can walk through it with you.
Can I change things after going live?
Yes. Edit the instructions or knowledge at any time; changes stay in draft until you publish, so you can check them first.